Why Professional Photo Retouching Matters for Businesses
First impressions are visual. Studies show that 93% of consumers consider images the top deciding factor when making a purchase online. Yet many businesses still publish unretouched or inconsistent photos that quietly erode trust.
Professional photo retouching isn’t about making things look “fake.” It’s about ensuring every image reflects your brand’s quality standards — whether it’s a product shot on your e-commerce store, a team portrait on your corporate site, or a hero banner for a campaign.
Companies that invest in consistent, high-quality visuals see up to 32% higher conversion rates compared to those using raw or stock images without adaptation.
The Professional Retouching Workflow: Step by Step
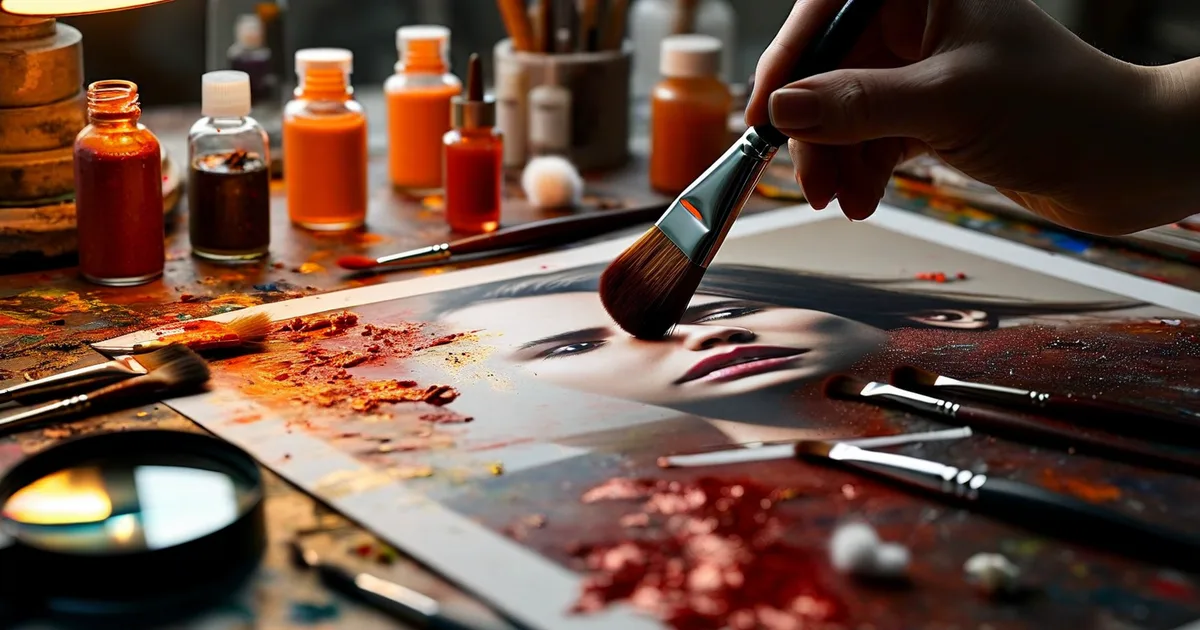
A repeatable workflow is what separates amateurs from professionals. Here’s the process most agencies and in-house teams follow:
Step 1 — Culling and Selection
Before any editing begins, the best shots are selected from a larger batch. Tools like Photo Mechanic or Adobe Bridge allow rapid sorting at speeds of 500+ images per hour. The goal: eliminate duplicates, blurry shots, and off-brand compositions.
Step 2 — Global Adjustments
This phase covers the foundational corrections applied to every image:
- Exposure and white balance correction
- Lens distortion and perspective fixes
- Color grading to match brand guidelines
Adobe Lightroom Classic and Capture One are the industry standards here. Batch processing presets can cut editing time by 30–40% when handling large volumes.
Step 3 — Detailed Retouching
This is where precision work happens in Adobe Photoshop:
- Skin retouching using frequency separation
- Object removal and background cleanup
- Product shadow creation and reflection effects
- Compositing multiple exposures
For e-commerce, this step ensures every product sits on a clean, uniform background — a requirement for platforms like Amazon, Shopify, and Prestashop storefronts.
Step 4 — Export and Optimization
Retouched images must be exported in the right formats and sizes. A common mistake is uploading a 12 MB TIFF to a website. Best practice:
- Web: JPEG or WebP at 72 dpi, compressed under 200 KB
- Print: TIFF or PNG at 300 dpi, CMYK color space
- Social media: Platform-specific dimensions (e.g., 1080×1080 px for Instagram)
At Lueur Externe, we routinely integrate this optimization step into broader web performance strategies — because a beautiful image that slows your page down by 3 seconds costs you 53% of mobile visitors.
Essential Tools Compared
| Tool | Best For | Price Range | Learning Curve |
|---|---|---|---|
| Adobe Photoshop | Advanced retouching, compositing | ~$23/mo | Steep |
| Adobe Lightroom | Batch color correction | ~$12/mo | Moderate |
| Capture One | High-end color work | ~$24/mo | Moderate |
| Luminar Neo | AI-assisted quick edits | ~$79/year | Easy |
| Canva Pro | Social media graphics | ~$13/mo | Very easy |
For most businesses handling 50–500 images per month, the Adobe Photography Plan ($23/month) offers the best value, combining Photoshop and Lightroom.
Common Mistakes to Avoid
- Over-retouching: Plastic-looking skin or unrealistic product colors destroy trust.
- Inconsistent style: Mixing warm and cool tones across your catalog confuses your brand identity.
- Ignoring mobile: Always preview final images on a smartphone screen before publishing.
- No version control: Keep layered PSD files organized. You will need to revisit them.
Conclusion: Invest in Visuals That Work as Hard as You Do
Professional photo retouching is not a luxury — it’s a business tool. A streamlined workflow, the right software stack, and consistent brand standards turn ordinary images into conversion drivers.
If you lack the time or in-house expertise to manage this process, working with a specialized agency makes all the difference. Lueur Externe’s content creation team combines over 20 years of web expertise with a sharp eye for visuals that perform. Ready to elevate your brand imagery? Get in touch today.